How to Clean Out a Storage Unit

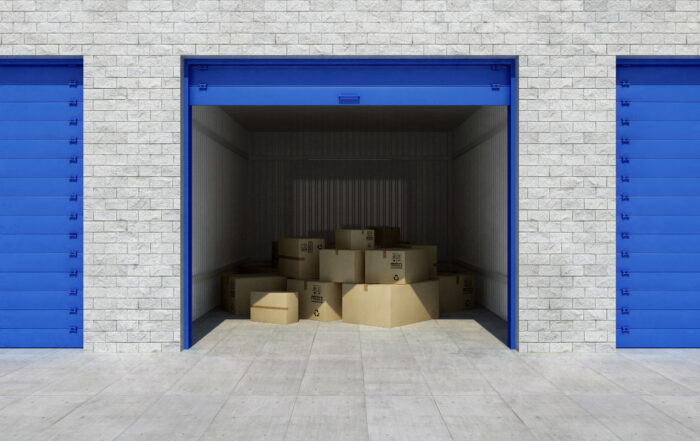
If you’ve ever inherited or bought a storage unit in an auction, then you know how dirty they can be. Chances are, they haven’t been touched in a long time, which leads to an exciting adventure of uncovering what’s inside, but it also leads to a bit of a mess. So we at Albuquerque Self Storage put together a guide on how to clean out a storage unit.
Step 1: Take Inventory
The first thing you should do is find out exactly what is in the unit. Take an inventory of all the boxes and their contents (we recommend a digital list on your phone to better separate the valuables and the items that should be donated or thrown away).
If items are jam-packed wall-to-wall in the unit, just take stock of what you can see and access for now. Overstuffed units will take a lot of time to go through, so do what you can at first and don’t spend too much time digging through everything if you don’t need to.
Step 2: Make a Game Plan
Once you have an idea of everything in your unit, you can figure out where things need to go and how to get it there. Can you sell that painting? Are those books better for recycling or are they in good enough shape to be donated? Can you fit that chair in your car, or do you need something larger to move it?
For some, it’s best to get an idea as you’re going through the boxes by having an organized system. Cleaning out storage units is hard work, but you will work more efficiently with a solid plan in place before you begin.Label fresh boxes like this:
- Things to Sell
- Donate
- Throw Away
- Things to Clean
- Things to Keep
It seems like a lot, but sorting everything right from the beginning will save you a lot of time and effort.
Step 3: Load Your Vehicle
The biggest thing about cleaning is that it’s a slow process and often starts with a bigger mess. In storage unit terms, you’re going to want to put everything you personally want to keep or things you’ll need appraised, cleaned, or restored, into your car immediately. This will lessen the clutter in the unit, as well as give you an immediate task.
After all, professional cleaning and restoration takes time, so it’s best to get those started first. You’ll also want to get an idea of prices for specific items as soon as possible so you can move faster with selling them. You’ll also want to quickly learn if something is even worth selling, or if it should go into the donation pile instead.
Remember, the more you know and the less you have in your unit, the closer you are to being done!
Step 4: Make Easy Arrangements
If you have a truck to transport everything, then make a plan for easy travel. Go to donation centers in a logical order and organize everything in the truck so it’s easy to get to, and all together. Some non-profit organizations will even pick up unwanted items for free if they are in good condition.
Or, if you’re selling items, you can arrange for the buyer to come to the unit with their own truck to lessen your load.
Step 5: Figure out What’s Trash and What’s Not
In line with step 5, you’ll want to find out pretty quickly if that antique piece of furniture is worth any money, or if it’s just taking up space. Get items appraised, if possible, or mark them for a quick sale. If it’s not worth it, dispose or donate it.
You’re going to want to do this step first or you’ll risk throwing away something valuable. You never know what could be hidden under dust, after all!
Alternatively you could hire a junk removal company to pick up your trash items. Most offer storage unit cleanout services. They will attempt to recycle or recover anything of value, with the rest dropped in a landfill. If you opt for this option, save this step for last.
Step 6: Recruit Helping Hands
Cleaning out a storage unit may be more work than you can handle in a single day.
If you can, enlist the help of some friends. Go through items and boxes as a team and sort items according to their destination. Just be sure to give them some incentive for helping!
Step 7: Load Up Your Items
Load everything that you are keeping or selling into a truck or van. Make sure you have a plan for every item that you take back home. If you are just going to fill up your garage or basement with stuff, it defeats the purpose of cleaning out your unit.
If you have items to sell, start photographing and listing them right away. Or unload the items in your driveway and have a garage sale scheduled for the next day. Whatever your preferred selling method, be ready to follow through so you don’t find yourself surrounded by piles of clutter at home.
Step 7: Turn Over The Unit
If you bought the unit in auction, remember that you bought the contents, not the actual space. You’ll have a deadline for getting everything out. So once you’re done, be sure to double check everything to make sure the unit is empty and clean. Take a picture of the unit with your phone so you have proof of its condition when you surrendered it.
Finally remove your lock and notify the manager that you have vacated the unit when you leave.
Recent Posts
Long-Term vs. Short-Term Self-Storage: Choosing the Right Option for You
Are you needing self-storage but are unsure whether to opt for a long-term or short-term solution? Choosing the right storage duration is crucial to meet your specific needs and budget. In this guide, we'll explore [...]
Self-Storage for Business Owners: 8 Ways to Simplify Inventory Management
Are you a business owner looking for efficient solutions to manage your inventory? Is your warehouse space becoming overcrowded and disorganized? Self-storage offers a convenient and cost-effective alternative for businesses to streamline inventory management and [...]

Maximizing Space in Your Self-Storage Unit: Clever Organization Tips
Are you struggling to fit all your belongings into your self-storage unit? Do you find yourself constantly rearranging items to create more space? Maximizing the space in your self-storage unit doesn't have to be daunting. [...]