A Guide to Spring Cleaning
It’s that time of year again: the flowers are in bloom, the rain is starting to fall, and the temperature is gradually warming up. You know what that means? It’s spring! And with spring comes a little something called spring cleaning. It happens to the best of us — we accumulate a lot of clutter over winter, or want a fresh start to the year. Which means it’s time to clean, organize, and declutter.
Here at Albuquerque Self Storage, we’re experts at the spring cleaning routine. Today, we wanted to share some of our tips with you.
Before you get started, prepare some boxes. Here’s what you need:
- Box 1: Donate
- Anything you want to donate goes into these boxes. If the items won’t fit into a box (e.g., a couch), then keep a running list of them.
- Box 2: Repair
- If you come across items that need to be repaired, put them in this box until you’re ready to get them fixed.
- Box 3: Put-Away
- Say you’re cleaning out a drawer in your kitchen and you find a lost item, put it in this box. You’ll come back to it, so don’t worry about it right away.
- Box 4: Throw Away
- Anything you want to throw away, can be put into this box. This “box” can also be a garbage bag!
It’s also helpful to keep a pen and paper or a digital list nearby during your spring cleaning process. You can keep a running list of projects that pop up while you clean that you want to eventually, such as organizing old photos. Once you’re done with your spring cleaning, then you can make a plan to tackle those projects.
You can also make a list of things that need to be cleaned to help you track what you’ve done and what you need to do. Additionally, you can have a list of items that are too large to move into boxes (as we said above).
Where Should You Start?
Starting is the hardest part. We don’t have an answer to what room is the best place to start, but we do have an answer for how to start. Pick a room. Pick a section of that room. Then get to work.
First, take an inventory of everything in that area so you know how to clean it. For example, if you picked your bedside table, then you might need a trashbag, a duster, and paper towel.
Once you have an idea of everything there and you have everything you need, start taking things off/out. Sort everything in that area in your four boxes. Be sure to check the condition of each item thoroughly to see if it can be repaired, cleaned, or should be thrown out.
Once everything is sorted, thoroughly clean the now empty area. Dust the surface first, vacuum around it and use the hose attachment to suck up any crumbs in corners or around the baseboard on the floor. Then, use your wet cleaners to wipe down the area and disinfect it.
Once everything is dry, you can take things out of your organizational boxes and start re-stocking that area. Start with the items that you’re keeping, then move on to the items that were misplaced.
Once done, pick another spot and keep at it.
Cleaning Every Room
Once you’ve cleaned off every surface, every drawer, and every nook and cranny, it’s time to start looking at the bigger picture. In other words, it’s time to clean the whole room. The floor, the ceiling (lights and fixtures), and furniture.
Every room in the house has baseboards, yet they are often among the most overlooked areas of the home. However, when left uncleaned they can get pretty dirty and grimy. Baseboards can be a bit hard on your knees to clean, but warm water and mild detergent or soap usually works pretty well.
If they’re looking discolored, it might be time to freshen them up with a light coat of paint. Pick something hardy, something that can withstand dirt and grime and fading. The most common color to choose is a flat white, or something similar.
General Room by Room Checklist
- Wash baseboards, door ceilings, window sills, doors, and walls.
- Vacuum and wash vents.
- Dust curtains and blinds
- Clean windows
- Dust and/or vacuum light fixtures and lamp shades.
- Change any batteries and lights that are dead/burnt out
Blinds, Curtains and Drapes
Curtains and drapes can really make any room in your house pop. They can also collect dust and grime. A routine clean will spruce them up nice for spring.
Vacuum any thicker fabric, and use a handheld attachment for thinner curtains. Never throw them in the washer! You can also take a lint brush to them so you don’t have to risk damaging them.
Blinds, shutters, and shades collect dust too. In most cases, a light dusting is all you’ll need. However, you many want some wood polish or cleaner to really make them shine.
While you’re at the window, you should go ahead and clean all the dirt and smudge marks off the glass. Chemical cleaners or organic cleaners work great. Pair them with a squeegee and they’ll be looking like new.
Clean off Fingerprints
Refrigerators, mirrors, glass surfaces, cupboards, and cabinets are all magnets for fingerprints. Defending on the type of the surface, you’ll need different cleaners. Just keep an eye out for them, because they’re in more places than you may expect!
And that’s pretty much it! Just be vigilant, take your time, and take it room by room. Spring cleaning will be a breeze if you do!
Recent Posts
Understanding Self-Storage Lease Terms: What to Know Before You Sign
Renting a self-storage unit is often one of those tasks that feels simple at first—pick a unit, sign a lease, move your stuff in. But if you’re like most people, the fine print on that [...]

What Not to Do When Using a Self-Storage Unit: 9 Common Mistakes to Avoid
Self-storage units are a convenient and affordable way to store everything from furniture and keepsakes to business inventory and seasonal gear. Whether you’re moving, downsizing, or just trying to declutter your space, renting a storage [...]
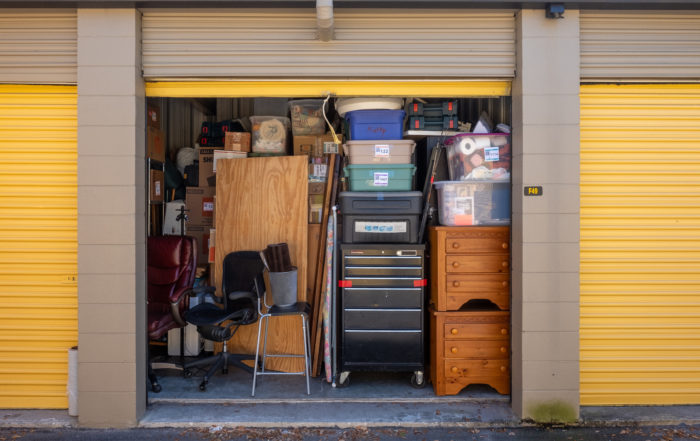
How to Keep a Storage Unit Clean and Tidy
A self-storage unit can be a lifesaver when you need extra space, but without proper organization and upkeep, it can quickly become cluttered. A clean and tidy storage unit not only makes it easier to [...]