Spring Cleaning Done Right
Birds are flying, bees are buzzing, and flowers are blooming. Three good signs that spring has finally rounded the corner. Hibernating animals have come out of their winter dens for the warmth, beauty, and life the springtime has to offer, and we humans…. Well, it’s time for us to declutter and clean our own winter dens. It’s time for Spring Cleaning.
Between all the new holiday decorations, presents, and dishes we accumulated in the winter, our “just throw it in there” closet is now bursting at the seams. The dust, dirt, and grime that built up on the baseboards are ready to be vacuumed away, and that carpet is begging for a deep clean.
But before the phrase “spring cleaning” becomes overwhelming, continue reading below, where we’ll break down our guide for Spring Cleaning Done Right into more manageable steps.
Spring Cleaning: Break Down The Checklist
The first task is to cut down on the mountain of checklists that come with the phrase spring cleaning. The less overwhelming, the higher the chance for success.
Are you someone who enjoys tackling the most significant problems first? Or do you need to ease your way into it?
However you work best, set yourself a plan, or follow along with the one below!
Spring Cleaning Breakdown, Step 1: Declutter
Before you can get to the deep spring cleaning your space deserves, take a few hours to rid yourself of clothes and items you no longer have use for, or, let’s face it, you don’t even recall buying.
It may seem difficult to let go of the things you’ve acquired over the years, but decluttering your space will make it easier to clean, and easier to maintain. Consider donating those clothes you haven’t worn in years and those toys your kids outgrew long ago.
Need a few tips for decluttering your home?
- Try starting one room at a time. What many find easiest is the closet. Check out our guide for decluttering your closet here.
- Involve everyone in the family! Give everyone a trash bag and set a timer. See how full each person can get their trash bag (from their own rooms) in a certain amount of time.
- You can do multiple rounds of this! Try a round for things to donate, one for things to sell in a garage sale, and another for items too worn out or damaged that should be thrown away.
- Start in small spurts: it can be difficult to make a decision to let go of an item when you’re exhausted. Take breaks and spread out your decluttering over a few days.
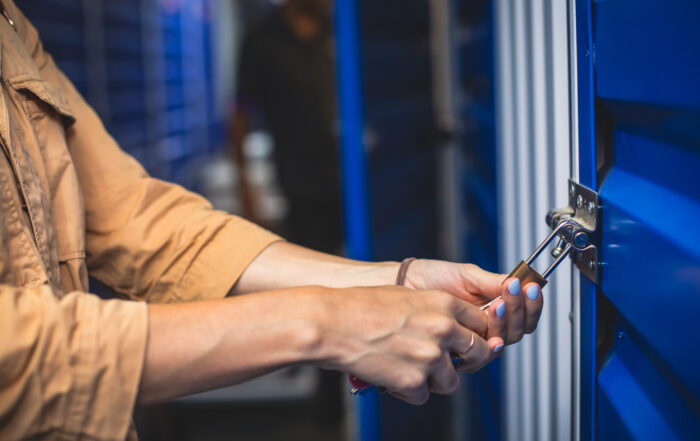
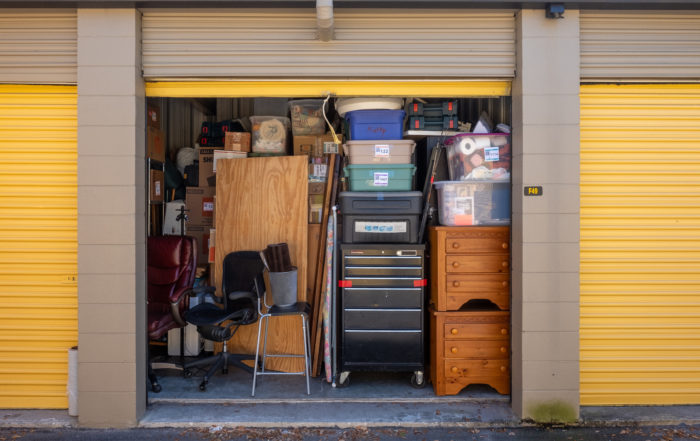
- Decide if external storage is right for those items you’d like to keep but only use once or twice a year. If you’re in the area and in need of a little or a lot of extra storage, check us out at Albuquerque Self Storage. If you’re not in the area, and want tips on how to choose the right storage facility, check out our self-storage guide here!
Spring Cleaning Breakdown, Step 2: Assemble Your Supplies
Now that your space has had a proper decluttering, it’s time to get down to the root of that infamous phrase. Cleaning, while fun for some of us, is a chore for others. Even the idea of creating a list of supplies seems daunting.
Luckily for you, we’ve assembled our must-haves when it comes to giving your space a deep spring cleaning:
- Rubber gloves (especially if you’re sensitive to cleaning products)
- Reusable cleaning cloths, such as absorbent towels and microfiber cloths.
- Scrub brush
- Toilet brush
- Good-sized bucket. You can get decently sized cleaning buckets at your local grocery store for under $10, or try one with wheels. It’s a little higher priced ($14 at Target), but it can be easier to maneuver around your house.
- A mop with removable heads for easy washing. If you already have a Swiffer, consider making your own diy reusable cleaning pads.
- Broom and dustpan
- Vacuum cleaner
- Spray cleaners: multi-surface/all-purpose cleaner, glass cleaner, dust spray, tile cleaner, toilet bowl cleaner, carpet cleaner.
- Garbage bags
Optional cleaning supplies for ease:
- Cleaning Caddy
- Extendable Duster
- Step stool
- White vinegar
- Baking soda
- Grout brush
- Surface specific cleaner (wood, marble, granite, stainless steel)
- Spray bottles
Check out these DIY, all natural cleaners if you’d prefer!
Spring Cleaning Breakdown, Step 3: The Game Plan
You’ve decluttered, you’ve bought your supplies, now it’s time to create a plan to keep you on track.
Decide if you’d rather spring clean room by room, or if it’s more doable to tackle the house as one big space. For example, you can dust off all major surfaces in your bedroom before moving everything out for the deep clean, or you can dust off all major surfaces in the entire house prior to moving to the second cleaning phase.
Spring Cleaning: The Deep Clean
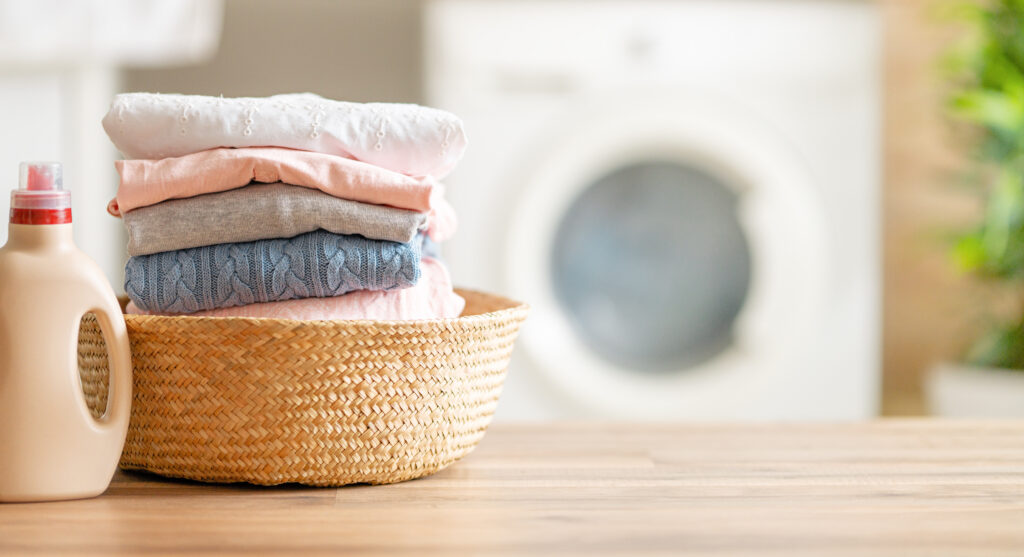
Interior of a real laundry room with a washing machine at home
Step 1: Start a Load of Laundry
You’ll thank us later!
Strip all of the beds, pull out all of the towels from the kitchen and bathrooms, and start chipping away at the mounds of laundry. Doing your laundry as you clean the rest of the house can help provide breaks, and it’ll ensure a fresh pair of sheets for you to collapse into at the end of your spring cleaning day!
Step 2: Clean off Major Surfaces
Shelves and tabletops accumulate dust easily. As do fan blades, window blinds and sills, and anything else with a flat top. Dust these items off first so you’re not vacuuming your space more than you need to.
Microfiber rags and dusting spray are the tools you’ll use, as well as that extendable duster. Word of advice, use a pair of sunglasses or eye-safety wear if you’re dusting off your fan blades from directly below!
Surfaces that need a good dusting include:
- Ceiling fans
- Picture frames, hanging mirrors, tvs (don’t forget the backs of your tv and don’t spray any cleaning solution directly to your electronics. A dry microfiber towel will do just fine!)
- Window sills, blinds, casing
- Entertainment center and all supplies on it, such as a dvd player, sound bar, etc. (See the above note about cleaning electronics)
- Bookshelves and wall shelves (don’t forget the books themselves!)
- Dressers
- Tables (don’t forget your entryway and bedside tables!)
Essentially, if it exists, it can collect dust.
Be sure to clean off all countertops before cleaning any floors, as well. When moving into the kitchen and bathroom, give your countertops, mirrors, cabinets, and appliances a clean with your multi-surface (or surface specific) cleaner.
Move off all the clutter and appliances from the counters before applying a cleaning solution to avoid chemicals getting onto things like toothbrushes!
Step 3: Move Out the Big Items
Whether temporarily storing large items like couches, beds, and dressers, or simply moving them to the backyard or another room, moving out these big ticket items will help you move around each room with ease.
It is important to note any safety issues that may arise when moving these items (pre-existing back and knee issues), and have a partner or several friends help move anything heavy!
You have a freshly empty room, now what?
Step 4: Now Comes the “Cleaning” in Spring Cleaning
- Grab your scrub brush, toilet brush, towels, and cleaning spray. Using the directions on the cleaning supplies, clean bathtubs, showers, toilets, and sinks, and appliances.
- Clean the baseboards. Vacuum first and then give them a true, deep, spring cleaning with a multi-surface cleaner. If your baseboards are wood, use a wood-specific cleaner. Microfiber towels will work just fine.
- Vacuum, vacuum, vacuum! Be sure to get in the edges and corners!
- Apply your carpet cleaner to the carpet and follow the instructions for how to properly clean your carpet. If it’s a dry cleaner, such as a powder, you can vacuum it up after a few minutes! If it’s wet, wait and let it dry before bringing your furniture back in. If you need an industrial clean, check out your local hardware/grocery stores for vacuum cleaner rentals.
- Mop any non-carpeted surfaces. Depending on your type of floor, you may need specific supplies. Check out this floor cleaning guide here.
- Vacuum your couches and rugs. If you aren’t planning to move your couch and rug out of the room, do this step prior to vacuuming/mopping your floor.
- If you’re feeling like you want the full spring cleaning, clean your mattresses, too!
Step 5: Final Tips
Once you’ve put back your furniture and unrolled those rugs, consider taking the time to organize.
We have plenty of blogs to help you with your organizational needs, and you can find them here:
- How to Organize a Pantry
- Home Coffee Storage Ideas and Recipes
- Shoe Storage Solutions: An Organizational Guide
- 10 Clever DIY Garage Storage Ideas
Spring Cleaning Done Right
Ultimately, spring cleaning means whatever you need it to mean. It doesn’t have to be daunting, and it certainly doesn’t have to take place in one day or even one weekend. Take the guide above and modify it to your needs, or use it as a general guideline. And if you find after that deep spring cleaning that you can’t quite get rid of those items you decluttered, come see us at Albuquerque Self Storage today!
Recent Posts
Understanding Self-Storage Lease Terms: What to Know Before You Sign
Renting a self-storage unit is often one of those tasks that feels simple at first—pick a unit, sign a lease, move your stuff in. But if you’re like most people, the fine print on that [...]

What Not to Do When Using a Self-Storage Unit: 9 Common Mistakes to Avoid
Self-storage units are a convenient and affordable way to store everything from furniture and keepsakes to business inventory and seasonal gear. Whether you’re moving, downsizing, or just trying to declutter your space, renting a storage [...]
How to Keep a Storage Unit Clean and Tidy
A self-storage unit can be a lifesaver when you need extra space, but without proper organization and upkeep, it can quickly become cluttered. A clean and tidy storage unit not only makes it easier to [...]